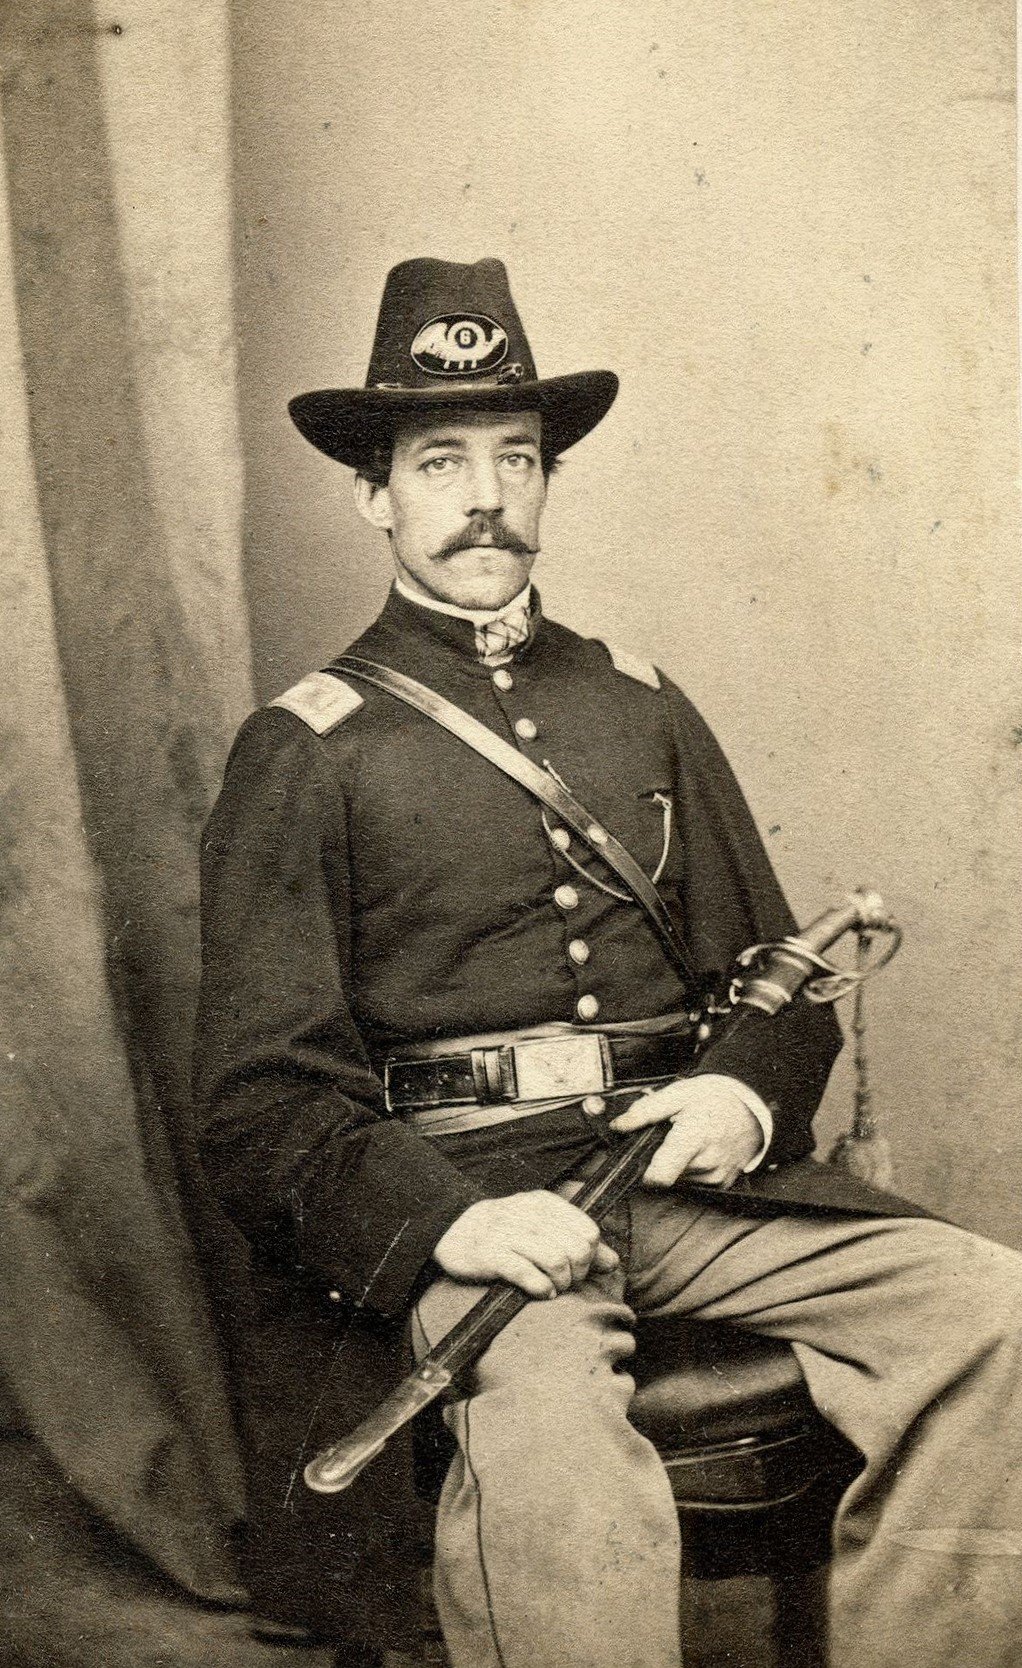
# 2 Another variation of Infantry Bugle, with the same style of construction on the backing. The original bore a silver regimental letter embroidered in the center, which can be had upon special request. Our standard model comes w ith the center field of the bugle plain, into which a stamped metal Regimental Number can be placed.
#3 This considerably more ornate style was a truly structured with a set of brass wire loops and a twilled brown cotton backing. The brass wire loops were meant to have a leather thong threaded behind to make the insignia removable for cleaning. In addition, it is considerably easier to attach and center on a hat. Rather than marking and impaling your fingers around the corners of the insignia, you simply make two small incisions in the hat, and the hat is ready to wear.